
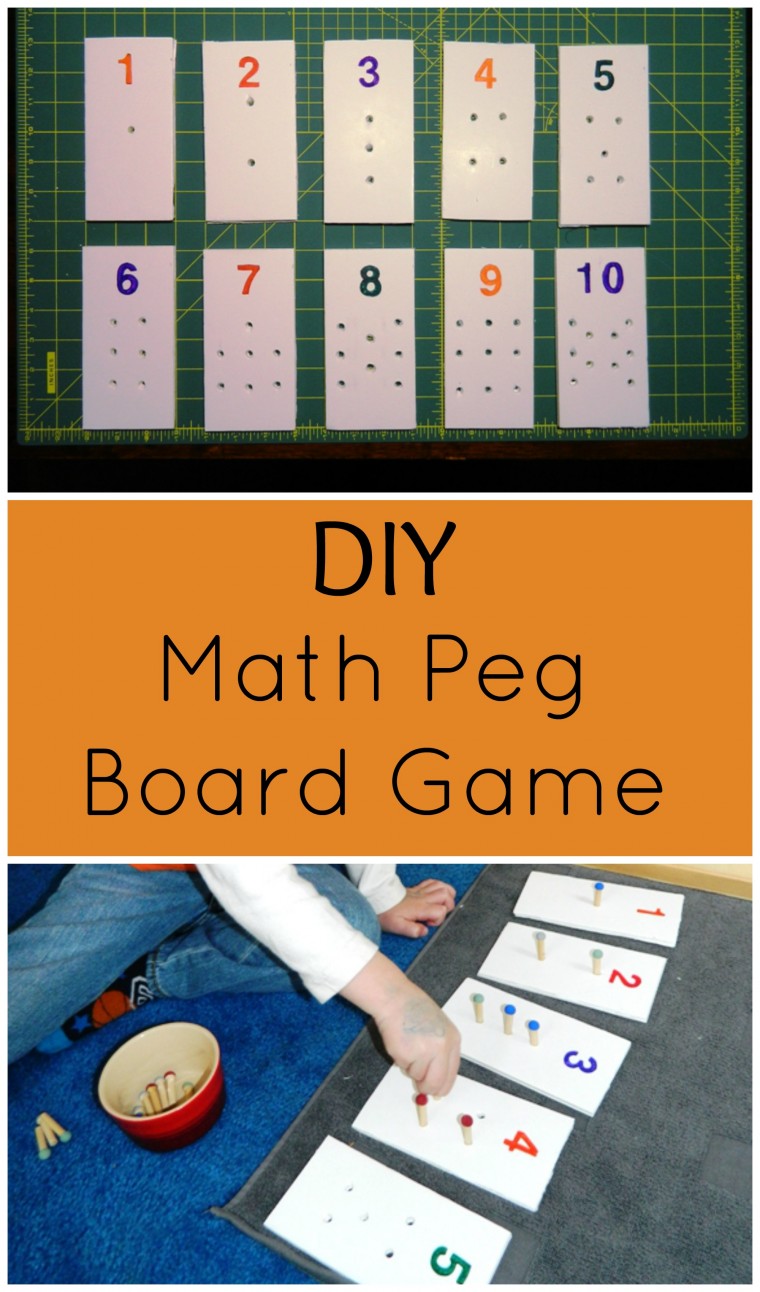
Samuel has been very interested in numbers. After talking with some of our followers on our Facebook group, I understand that many parents have children with the same beginning interests as Samuel. I looked up buying a peg board game, but the price seemed a little steep for the product. So as Mom’s on a budget do, I set out to make something that would be just as useful for the introduction of numbers to my little guy. I ended up with a comparable DIY math peg board game for $12.50.
“Man’s mind was mathematical by nature and that knowledge and progress came from accurate observation.”
from Maria Montessori via Blaise Pascal in The Absorbent Mind
The greatest thing about the Montessori Method is taking ques from your child about where their learning is going. This peg board game is an introduction to numbers and can be used before using the Number Rods or Spindle Boxes for beginning mathematics. I want to be able to tap into Samuel’s innate need to learn numbers so I’m going to try to present as many activities as I can to help him learn his numbers, counting, and beginning mathematics.
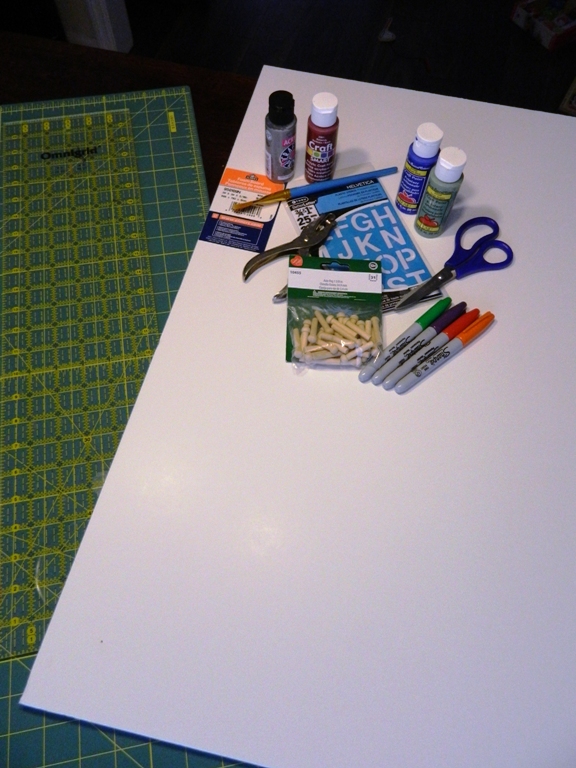
On Sunday after church, I stopped by the local Michael’s craft store. I knew what my end product should look like, but didn’t really have any materials in mind when I started my shopping. I found at Michael’s a piece of Foam Board ($2.99), a set of stencils which I know I will use for many other projects ($5.99), and some small wooden pegs ($3.49). When I got home I raided my craft boxes. I found left over paint, paint brush, markers, scissors, a hole punch, and cutting boards. After working on my project, I found that a rotatory cutter worked much better than scissors and the end of a pair of needle nose pliers worked better then my hole punch.
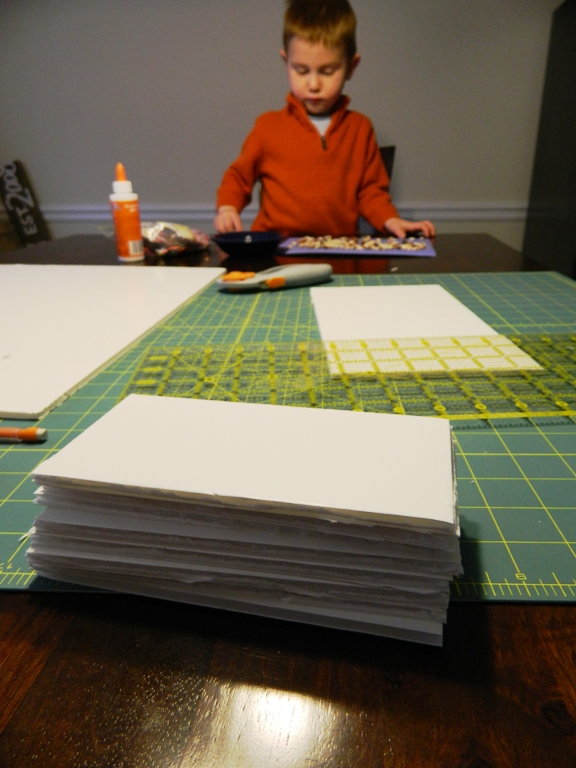
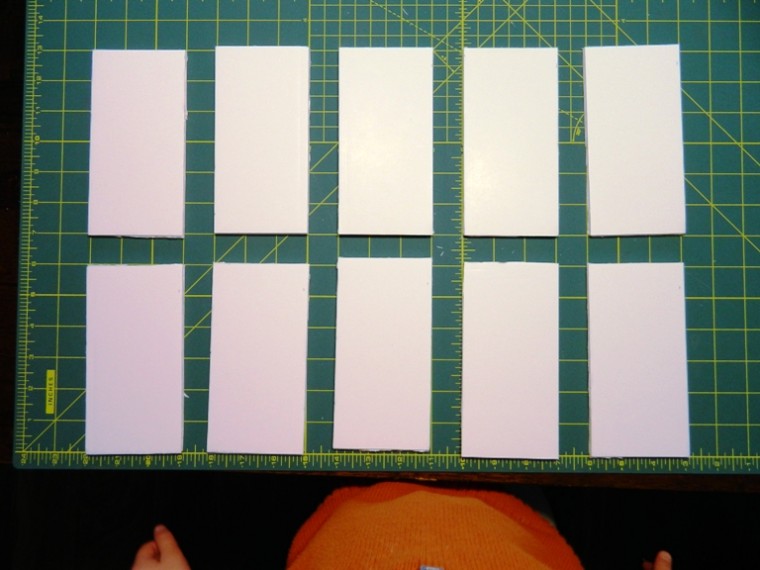
I wanted to make a set of boards like the peg boards I wanted to buy. I decided to make my boards 3 inches by 6 inches. This allowed me to use only half of my foam board. (Left over foam board for another project: Bonus!)
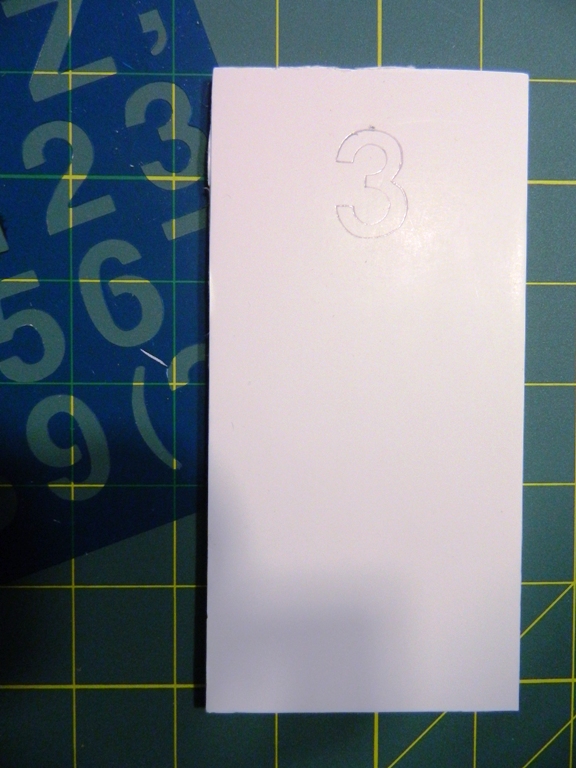
I have a small case of OCD, so I measured 1/2 inch down from the top of each piece and stenciled in each number in the center of each board.
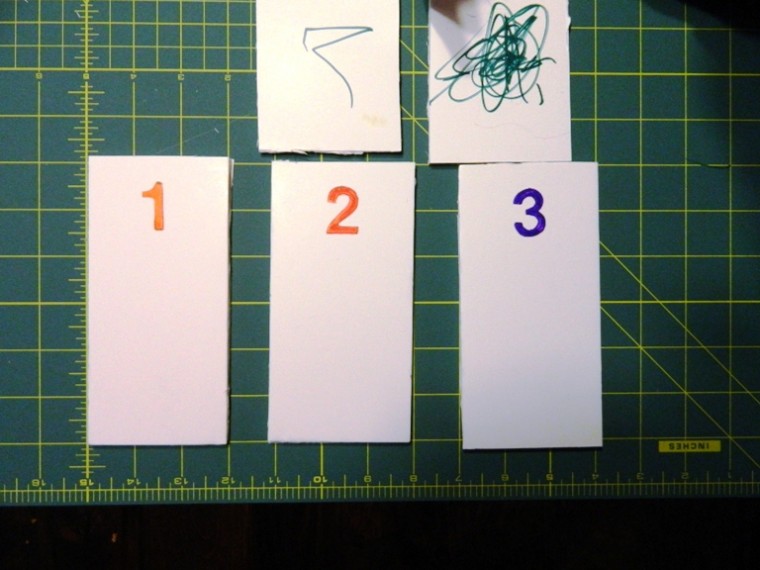
Then I colored in each number with permanent marker. (Sam wanted to set up his pieces with mine for the picture.)
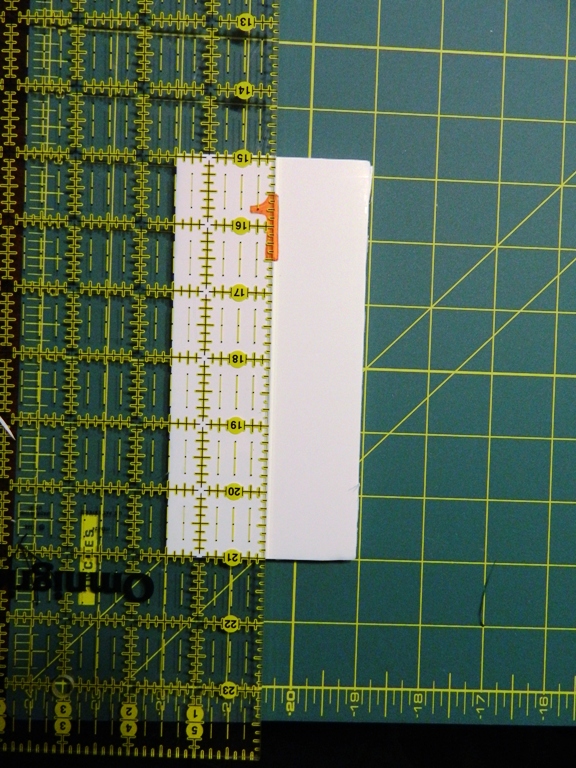
After I finished my numbers, I measured the center of the boards to align the holes. I made a mark with my pencil to be sure my end product would look the way I wanted it to. Then I used the end of my needle nosed pliers to push though the foam board to make a small hole. I did the same thing on the opposite side. Once I had a hole all the way though, I pushed one of the wooden pegs though the board to be sure the hole was large enough. I cleaned up the back of the holes with some scissors.
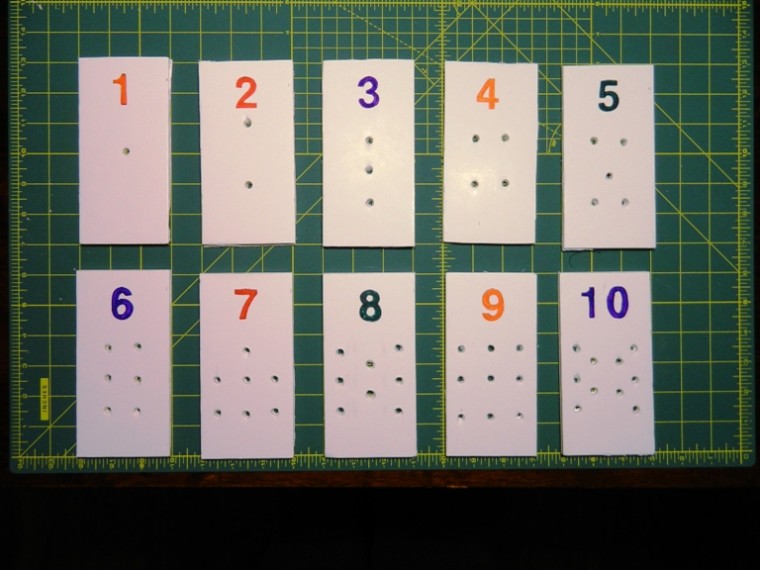
Here are my end products. I choose not to create a board with the number 0 on it. It seems like an abstract concept for my son who is in a concrete mind. I won’t have any problem putting together a board for 0 once I feel like he has a firm grasp on these beginning numbers. If you would like an activity on the number zero, I found a VERY simple one here.
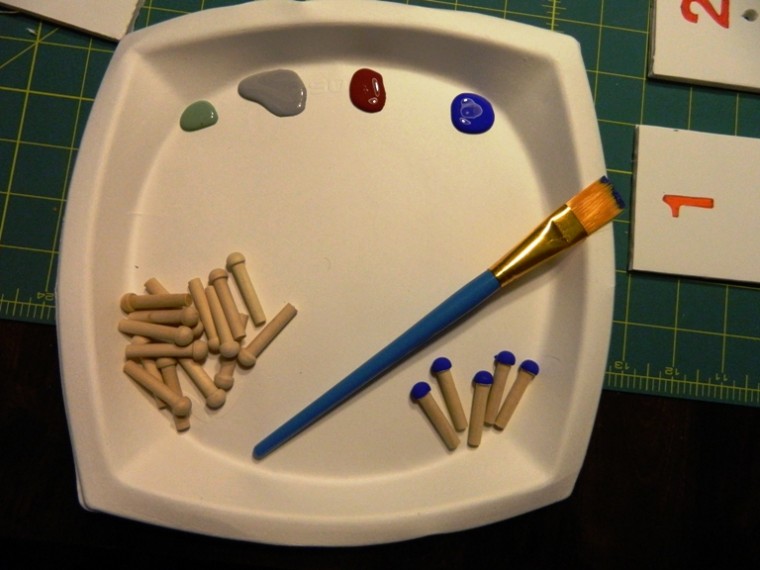
Last, I painted the ends of my pegs with different colored paint. I think you could skip this step with no problem.
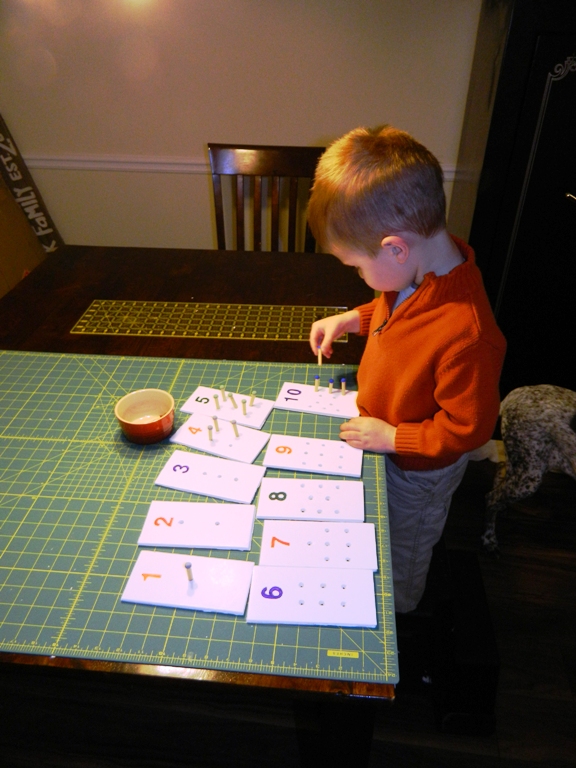
Before I had a chance to present this product to Samuel, he snuck into the dinning room where our project was and started exploring our new activity. I love his enthusiasm and was happy to let him work with the boards.If you are not familiar with giving a three part lesson, please see Lisa’s post here. This is a very easy way to present activities and you will use this method throughout your time using the Montessori Method.
Presenting this activity is very easy. Have your child roll out his mat and set out the activity. Show how each peg is placed into the holes. Reiterate the fact that one peg is on the board for the number one. Make the same comparison for other boards.
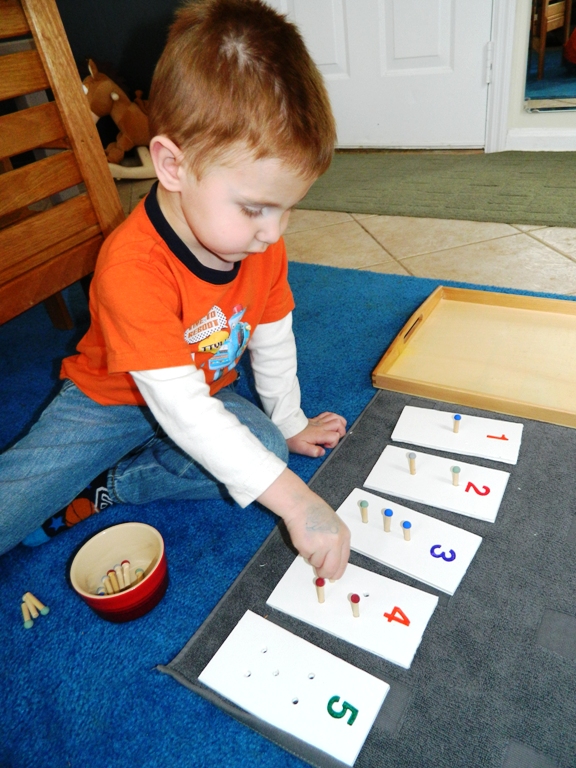
Additionally, you can count the pegs with your child as they place them in the holes. Samuel also liked having the same color pegs for one number. For example, all five red pegs were placed in the number five board or two green pegs in the number two board. This is another sorting activity for your child.
This is one of many great activities out there for an introduction to numbers and counting. Lisa has created a wonderful program designed to help you with all these toddler and preschool activities. She has set up pre-made lesson plans, colored pictures, and offers personal advice on your specific situation. We used her program with Samuel and it helped so much as a new Montessori family. Find links to her programs below this post.
Have fun learning!
Follow Marie @ Child Led Life’s board Math on Pinterest.


What a great and fun way to learn numbers! You have some of the best ideas Marie!
Alli’ last post was: Planner Printables From Around the Web
Oh I love how simple this is to make!! And need all the simple I can get right now!
Gabi’ last post was: Family Command Center – In the making
You are so creative! I wish I had known more about Montessori when my boys were younger.
Cindy Howell’ last post was: Frozen Inspired Messy Fun
Nice! I love homemade and I am sure he enjoys playing with it all the more because you made it together. This is a great project. sharing . . .
Sheila @ BrainPowerBoy’ last post was: LEGO Organization and Storage Considerations
Love this idea – and so easy to make too!
Clare’ last post was: 14 Heart-filled Valentine’s Day activities for toddlers